

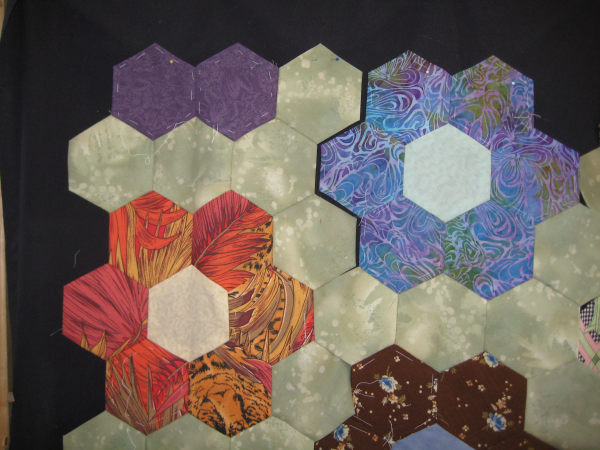
So, as I've been working on my hexi Forever Project ™, I've not only been pondering how in the heck I'm going to quilt this thing but thinking about the more immediate problem of how the edges are going to look like.
One other piece of information: I'm a complete neophyte when it comes to hexies. I've been reading around the internet and taking in everyone's ideas and suggestions but eventually coming up with my own combination of techniques .... which admittedly probably isn't a new combination at all! That's one of the neat things about quilting: you can use whatever technique and method that suits you as long as it results in what pleases you.
Now about those edges .... am I supposed to LEAVE them as-is? As in, that's the final edge of the quilt? Kinda like an angular scallop?
Or, do I applique my finished hexie top to a border background so the final outer edge is nicely straight? If I do applique the hexie edge to a border strip, will my applique stitches be STRONG enough to withstand the stress of use?
So many things to worry about!
And then .... ta da! I read Texas Freckles' 2010 blog entry on how SHE was thinking of finishing the edges of her hexie project. She proposes to simply *cut off* the extensions of the hexagons that are on the edge! What?!?!??! How radical!

But, it sure gives me the straight line with a folded edge that I wanted! This will allow me to whip-stitch a border strip onto the edge of the hexies just like I've been whip-stitching the hexies together. I feel much better and more confident about the strength of a whip-stitched seam than an appliqued "seam".
However, even working with the sample template and fabric was annoying ... just because the shape is irregular. It *would* be so much easier to make a full hexagon and chop it off 1/4" beyond the finished edge. And in thinking furthermore, if I do that, I'm not actually cutting through any seams at all. The seam that attaches the two hexies stops AT the edge; cutting the part that extends beyond that point would simply be a seam allowance. At least, I think so, since I haven't actually tried it yet. The only drawback to this method is that it does "waste" a full hexagon and there's not too much you'd be able to do with the cut-off portion. But since cutting and sewing a full hexagon at the edge and cutting off the excess would really be so much easier than my irregular templates, I think I'll go with that. :-)
Therefore, that is my working goal at this point .... all the spaces in the edges will be filled in with partial hexies, probably full hexies that will get chopped off and the excess (seam allowance) fabric folded over. This will result in a lovely STRAIGHT edge for me to work with. Oh hooray. :-)
The quilting design? I'm kicking the can on that decision down the line a bit; I don't need to finalize it. But I'm still thinking about it. :-)

No comments:
Post a Comment