I've had my quilting projects on hiatus while I worked on some sewing projects.
First up, is the
Bendy Bag by Lazy Girl Designs. I saw this pattern, kitted up with fabric and zipper, at a recent local quilt show. I'm a real sucker for zipper bags. I LOVE them. I have quite a collection patterns for variations on a theme of zipper bags. Lazy Girl Designs have come up with a unique look/design and I didn't even bother to resist the temptation. :-)
With most zipper bags, the zipper goes straight across the top of the bag. Not this one. The name "Bendy Bag" comes from the way the zipper bends at the corner to continue part way down the side.
It's a different construction technique also. I like the interior of my projects to look as neat and tidy as the
exterior, so I don't care for exposed seams inside. Because I was thinking that the fabric that came with the pattern as the "good" fabric, I wanted to practice with some other fabric first ... as I wanted to see if I could manipulate the directions so I didn't have the exposed seams.
My first attempt was using leftover Texas longhorn fabric as the exterior and bugs as the interior. It came out cute ... but my attempts to completely contain the seam allowances didn't work out. I concluded that with their design, you just can't put all the seam allowances so they are hidden.
You use an overly-long zipper so that you can use the "excess" as a loop/handle on the side of the bag.
I ended up mailing this bag to a Texas quilting friend of mine ... but ... and this is why I absolutely HATE mailing valuable stuff ... the post office managed to mislay the package. It never arrived. The post office at my end hasn't a clue where the package went or where it is. Doggone shame.

I made two other Bendy Bags, this time following the directions! The interior exposed seams are neatly trimmed and overcast (with a zig-zag stitch).
For one of the bags, I used matching bias binding to cover up the seam, but that really did add just a whole bunch of time to the construction process.
The butterfly fabric was what came with the pattern, along with the hot pink lining and zipper.
The cupcake fabric was specifically chosen because my youngest daughter is One Terrific Cook. She can bake and cook *anything*. Nothing phases her (unlike me, who needs a precise recipe). I thought she'd get a kick out of the cupcake motif. Ah, but my mother's intuition was 5 degrees off-center this time. She didn't care for it. While I will admit to being disappointed, I *am* very glad that we are able to be honest with each other so that she didn't feel obligated to accept it when she truly didn't care for it.
She did mention that one of her friends has two young daughters (ages 2 and 4) and perhaps they might be recipients? Bingo! Done! There's nothing I like more than making stuff for little girls.
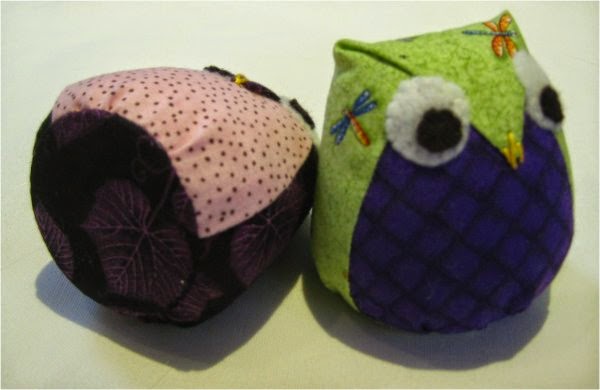
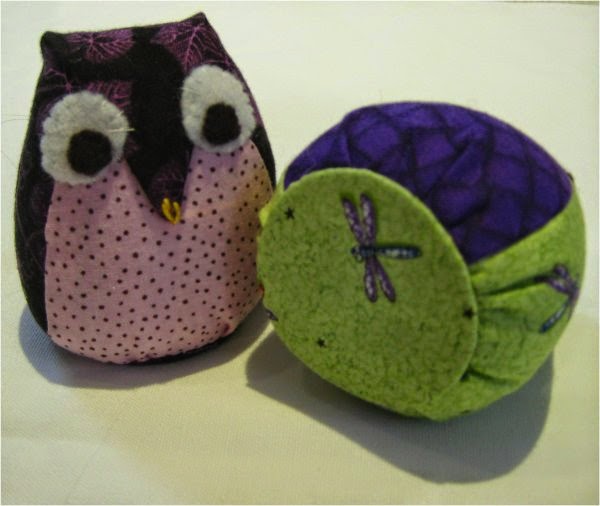
Which got me thinking ... even though I don't *know* these little girls nor their Mom, I couldn't "just" give them a Bendy Bag. Oh no ... my mind was all awhirl with a set of goodies .... a small stuffed owl to go in the bags, a crayon/coloring book caddy and a ruffled tote bag to put everything into.
So, off I went ... deferring my quilting projects for this newest sewing project! More pictures and descriptions of the other items in another blog entry!